You know when you read a recipe and you think
hmhm this seems easy..but in reality it's not?
Well I found this recipe of this delicious cake
and it includes pics of every step of the recipe :)
Enjoy :)
Chocolate Raspberry Cake

There are a lot of birthdays for us this time of year so I found myself making another cake. Not that I’m complaining or anything, any time is a good time for cake and a birthday is just a good excuse to indulge.
The Birthday Honoree requested raspberry and chocolate so this is what I came up with. I started with my go-to Chocolate Cake recipe. I’ve been making it for years now and it’s never failed to come out rich and moist. If you’ve got your own favorite recipe use it instead.
Cutting two layers into four gave me plenty of cake surface to slather in raspberry and chocolate goodness. I’d planned to sprinkle the top with a big bunch of fresh berries and dust the whole thing with a bit of powdered sugar. Unfortunately, fresh raspberries were nowhere to be found so I had to pick a few frozen ones from the bag to use for a garnish.
First, the raspberry filling:

- Frozen Raspberries, 2 bags
- Sugar, 1/2 to 2/3 cup
- Corn Starch, 2 tablespoons
- Raspberry Jam or Preserves, 1/4 to 1/3 cup

In a large heavy saucepan, combine the berries, sugar and cornstarch. Stir it all together and heat over low to medium-low heat.

Let it cook for maybe 20 minutes, stirring occasionally, until it begins to thicken.

Remove it from the heat and stir in a little jam to thicken it a bit more. Don’t worry if it still looks too runny to spread on a cake. It’ll continue to thicken as it cools.
While it’s cooling, move on to the Chocolate Frosting:

- Semisweet and/or Bittersweet Chocolate, 12 ounces (I was emptying my pantry stash so I’ve got a mismatch here. It didn’t matter.)
- Sugar, 1/2 cup or more to taste
- Butter, 3 tablespoons
- Heavy Cream, 1/2 cup, room temperature

Break the chocolate into chunks. Melt it carefully in the microwave by heating on 50% power for 45 to 60 seconds at a time and stirring in between. It doesn’t have to melt completely on it’s own. It’ll still hold some of it’s shape but will finish melting as you stir.

While the chocolate is still nice and warm, stir in the sugar and butter. Continue stirring until the butter is melted. Adjust the sugar to taste.

Stir in the cream until it’s fully incorporated. Set it aside and let it continue to cool.
Now to put it all together:

Slice each cake layer in half using a serrated knife. The toothpicks inserted in the middle of the layer make a handy slicing guide.

Place the first layer on a cake plate. Wax paper or foil strips under the edges will keep the plate clean while you work. Spread a generous amount of raspberry filling all the way to the edges.
Ignore my horribly uneven slicing job.

Add the next layer and spread with chocolate.
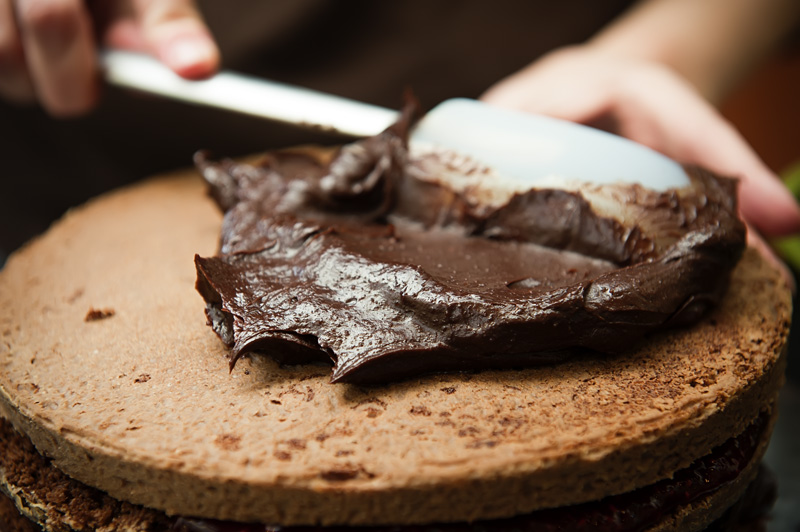
Repeat with the remaining two layers.

Garnish with a handful of raspberries and enjoy!
No comments:
Post a Comment